ESP8266 Microcontroller Board with PlatformIO
January 30, 2017
One of the hottest microcontroller boards I've read about recently is the ESP8266. The reason it's popular is that it has a built-in full TCP/IP stack, along with a wifi antenna onboard. Also there is enough interest and awareness that it is programmable in several languages, including the Arduino API. I've seen several articles and videos on the ESP8266 recently, such as this one, and it definitely caught my interest. After briefly researching this online, I went ahead and purchased a recent incarnation of the ESP8266, the Adafruit Huzzah.
I'll give a little background and details for this chip before I relay my experiences on how to program it. There is a lot to like about the ESP8266, but early boards didn't have any voltage regulation, so people were frying the board as a first order of business when they received it (lol.. read some of the comments on this page). Adafruit came along and fixed that with the Huzzah, by adding a voltage regulator circuit. They also added a JST-PH port for mobile battery power, and the micro-USB connector will also charge any LiPo battery you have plugged in. This model also has the latest serial chip, the CP2104, for high-speed data uploads, as well as more flash memory (4Mb) than previous boards. Upcoming incarnations might even see onboard SD cards, and I think adding mass storage would be a smart direction to move since there currently is no device like this at such a small scale and price-point.
ESP8266 Development Frameworks
The ESP8266 chip is made by a company called Espressif, and of course they put out an SDK, as well as examples of programming their device. You can download and read through some of their example code here , and here as well. The Espressif native code library appears (to me) somewhat unfriendly and difficult to follow for the average user. It's basic C-language code, but definitely not user-friendly. Some Russian guy with an outfit called MicrocontrollerKits put together a setup for the Eclipse IDE. This is basically the Espressif native code library, using MinGW gcc toolchains, and packaged into a series of Eclipse projects for C/C++. This appears to work, but in the end you're still looking at the same Espressif code which uses function and variable names that are not very descriptive, and hence the whole approach is difficult to work with. Here is the video describing this package in case anyone is interested.
You may have already noticed that Adafruit makes available a programming environment called microPython which can be used with the Huzzah board. From what I can tell it is basically Python language with the Arduino API, and I'm sure it's easy to use, although this was not the avenue I pursued. One thing that is also sure is that Python will not run as fast as C compiled object-code running on the microcontroller, and speed could be an issue on such a low-power device. There is another organization out there whose purpose is to make programming the whole ecosystem of microcontrollers much easier for the average user, and this initiative is called PlatformIO.
ESP8266 Development Tools, PlatformIO and Visual Studio
The PlatformIO website is platformio.org , and to get started you should follow their installation guide as I did. The setup requires the following 3 packages.
- Some 2.7xx version of Python
- CLang, aka LLVM (low-level Virtual Machine)
- The PlatformIO IDE. It's basically a plugin for the Atom text-editor
> C:\Users\YourUserName\AppData\Local\atom\app-1.13.0\atom.exe
Of course substitute whatever is your current version of atom in the above shortcut link (and also use your own username). When you launch PlatformIO it will automatically update the installed plugins and packages. If the PlatformIO Core doesn't update correctly, you can do it by downloading the file
https://raw.githubusercontent.com/platformio/platformio/master/scripts/get-platformio.py
into your Python directory, and then running the command
> python get-platformio.py
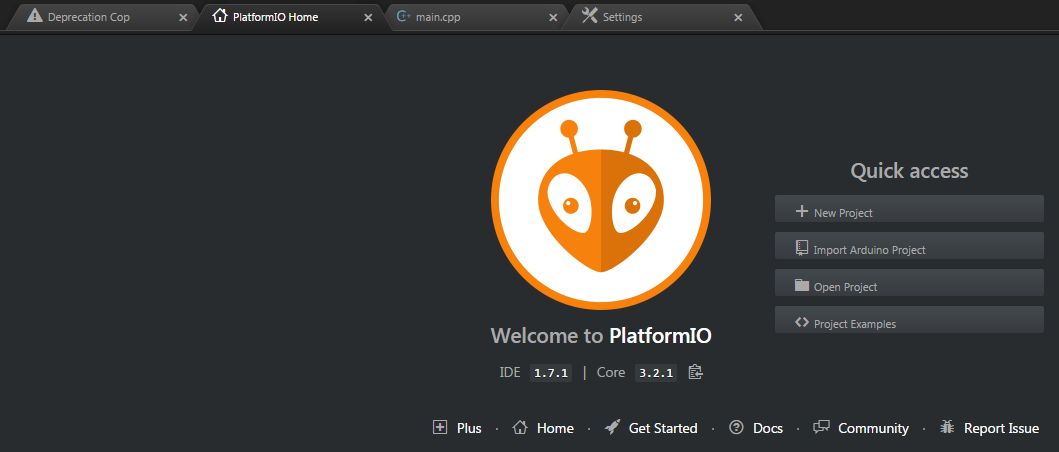
PlatformIO still has a few kinks to work out, but at the 30,000-ft view this is by far the easiest and best way to program these microcontroller boards. The remainder of the installation guide gives good details on navigating the Atom user interface, as well as the PlatformIO plugin. What's important to know is that the PlatformIO IDE is good for managing code packages, as well as flashing your microcontroller board, but the programming editor is not that great. I looked around to find the best way to actually work with the Arduino API C-language code, and for MSWindows it turns out the community version of Microsoft Visual Studio works the best.
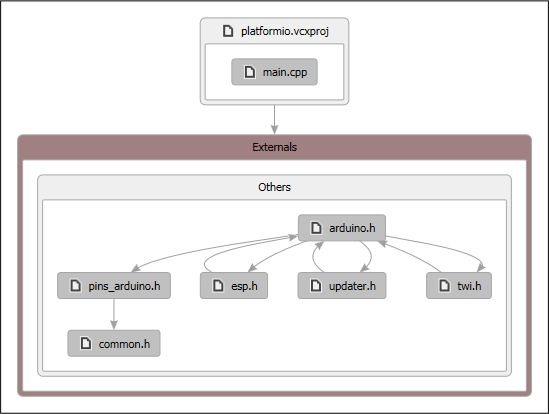
Here are the instructions for installing Visual Studio. When the instructions talk about adding platformio to your path, what they're referring to is the file pio.exe located in your python2.7xx/scripts directory (this should already be on your path from when you installed Python). Visual Studio gives you Syntax Highlighting, Code-folding, Intellisense, and a number of other very useful tools. For example, you can generate a header dependency graph (in case you can't figure out where certain variables or functions are coming from) just by placing your cursor on a include-file name, then right-clicking and selecting 'Generate Graph of Include Files'. For anyone who is REALLY new to this, Intellisense is like a database of functions, variables, types, and objects that the editor 'knows about'. You can do things like hover your mouse over some piece of code and get information about it, and it will also provide a list of options when you start typing.

These tools become more important as you start to deal with multiple libraries, including the Arduino API library itself, since it's not always clear where certain functions and variables are coming from. For all the bad things people say about Microsoft, one thing they have become very good at is programming languages and compilers, and Visual Studio is one of the best C/C++ development environments out there. Fortunately for us it's free now, because they used to charge thousands of dollars for it.
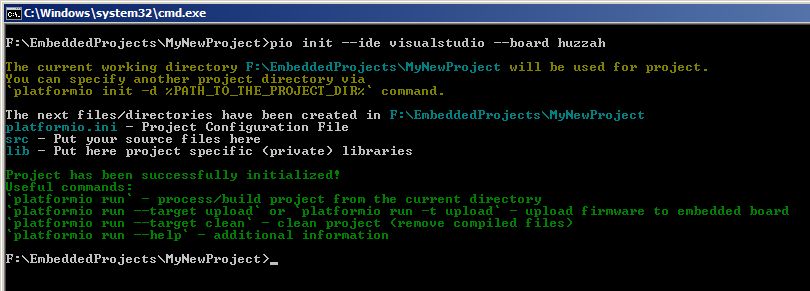
When you use PlatformIO, it installs all the necessary code files in order to program your board. It's not necessary to install the Arduino IDE, since the Arduino API files are all provided for you by PlatformIO. You can create your projects from within the PlatformIO IDE (the graphical interface program), but I've found that it's just as easy to do it from a command-line. First create a directory, then open a command prompt (a DOS box) within that directory and issue a command like this.
> platformio init --ide visualstudio --board huzzah
In the above command, platformio is an executable that was installed inside your python2.7xx/scripts directory when you installed PlatformIO (that's why having Python on your system path was important when you installed PlatformIO). The above command tells PlatformIO to create a project for the Huzzah board and the Visual Studio IDE. You can find your board's Id by looking on this page. Also, pio is a shorthand alias for platformio, so the following is an equivalent command.
> pio init --ide visualstudio --board huzzah
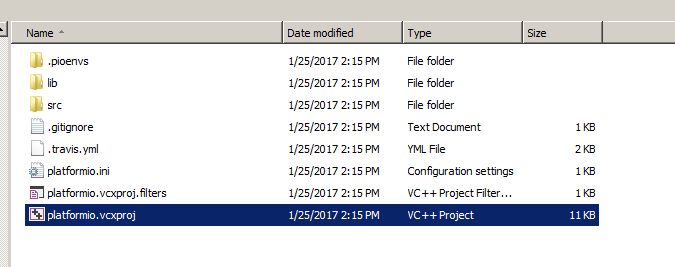
When you create a PlatformIO project like this, it places all the support files in the following location.
> C:\Users\YourUserName\.platformio\packages\
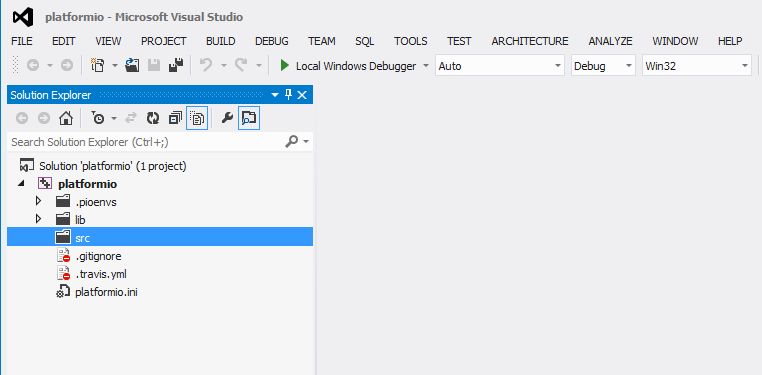
Any libraries you add to the project are also placed in the same location. After creating your PlatformIO project, assuming you have Visual Studio installed, you can open the project in Visual Studio just by double-clicking on the .vcxproj file from Windows Explorer.
ESP8266 Flash and Code Execution
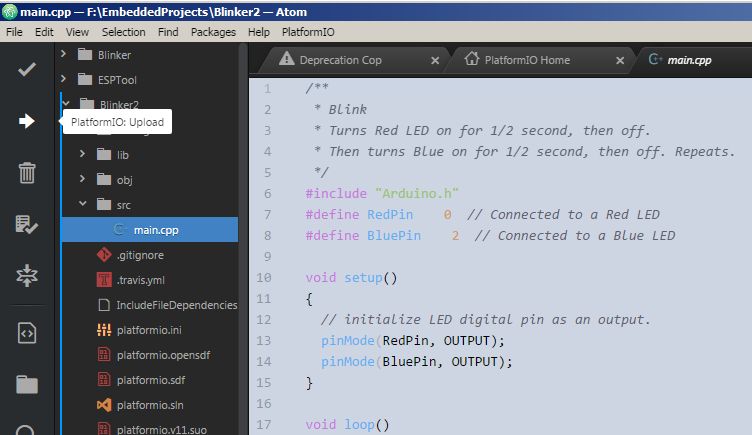
Eventually I plan to explore advanced capabilities of the ESP8266, but for this first blog-post I'm going to keep it very simple. After inspection of the Huzzah pin-out here, I determined that pins 0 and 2 are connected to onboard Red and Blue LEDs, respectively, so I decided to use this for my initial testing. There is ample source-code in the public domain which show how to blink an LED using the Arduino API, so I worked up the following sample to blink the two LEDs in sequence.
/**
 * Blink
 * Turns Red LED on for 1/2 second, then off.
 * Then turns Blue on for 1/2 second, then off. Repeats.
 */
#include "Arduino.h"
#define RedPin    0  // Connected to a Red LED
#define BluePin    2  // Connected to a Blue LED

void setup()
{
  // initialize LED digital pin as an output.
  pinMode(RedPin, OUTPUT);
  pinMode(BluePin, OUTPUT);
}

void loop()
{
  // turn Red LED on (HIGH is the voltage level)
  digitalWrite(RedPin, HIGH);
  // wait for half a second
  delay(500);
  // turn Red LED off by making the voltage LOW
  digitalWrite(RedPin, LOW);
  // turn Blue LED on (HIGH is the voltage level)
  digitalWrite(BluePin, HIGH);
   // wait for half a second
  delay(500);
  // turn Blue LED off by making the voltage LOW
  digitalWrite(BluePin, LOW);
}
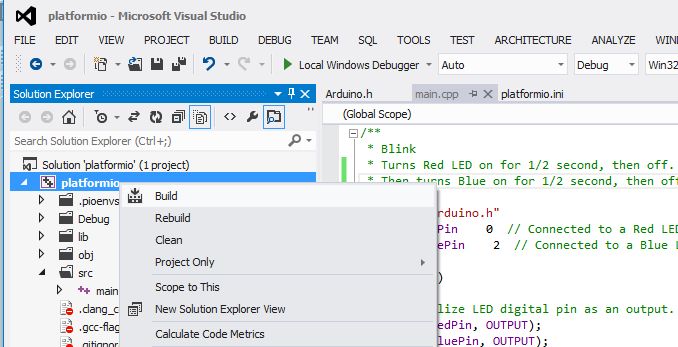
Building the project from Visual Studio is as simple as right-clicking on the project name, and selecting Build.
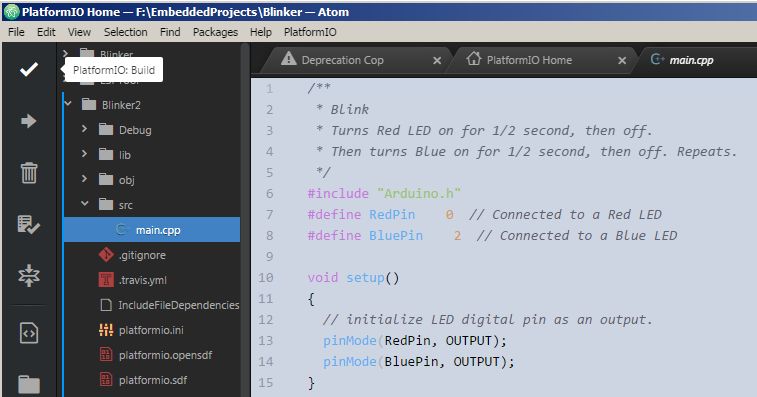
You can also build the project from the PlatformIO IDE, by clicking the Build button along the left-hand toolbar.
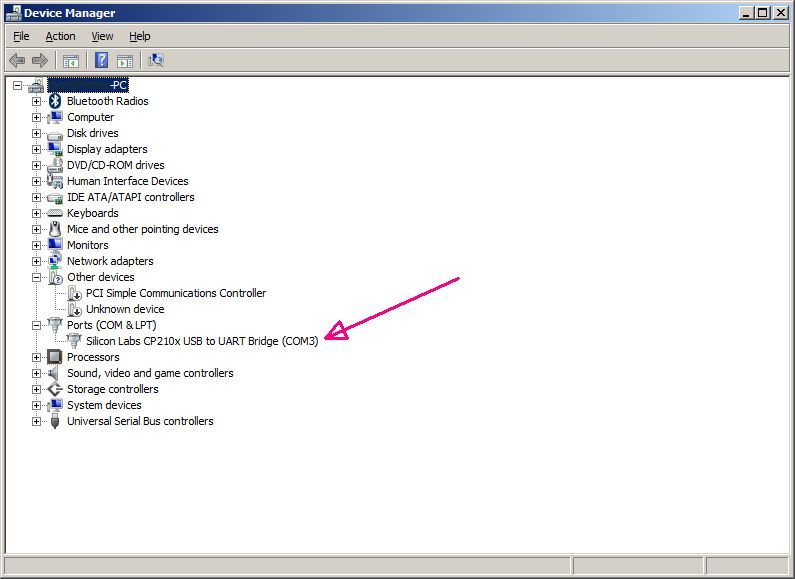
With regard to flashing the device, in order to communicate over USB you need to install one particular USB driver on your computer, which you can download here. Now when you plug your Adafruit Huzzah into the computer, a COM device should appear in the Device Manager.
Flashing your compiled code to the ESP8266 board is as simple as clicking the Upload button on the left-hand toolbar within the PlatformIO IDE.
You'll see some text scroll by at the bottom of the IDE, and then the box may disappear. This is the default setting, that the 'Build Panel' closes automatically after completing, and it can be changed within the Packages settings. After the build completes, the microcontroller should start to perform the actions ascribed to it within the program. If yours doesn't, then try the flash again, and possibly power it off and on (with the USB connector). Here is an short animation of what it will look like when it runs correctly.
-R. Foreman